How To Thickness A Guitar Body Blank
…using only hand tools!
Here’s a small tutorial on how to thickness body blanks. Sometimes a blank won’t fit through a jointer or thickness planer, or maybe you don’t want the dust or expense of one. For an invisible glue line and perfect joint, you’d have to whip out the hand plane at some point anyway so it’s worth learning these techniques.
To start removing saw marks on rough timber, and to prepare a fairly flat surface, ideally you want a scrub plane. Mine is a cheap 6 quid No.5 jack from Amazon UK, I replaced the blade with a Stanley iron that I cambered so the corners of the blade edge are about 1/8″ lower than the centre of the edge. This makes the cut easier and is ideal for fast stock removal. The second thing you want in a scrub plane is a wide mouth to let those thick shavings through, so either buy a cheap hand plane (as they always come with huge mouth openings!) or turn the frog adjuster anti-clockwise until the shavings pass through easily. Alternatively, I guess you could use a power planer as the scrub plane.
Start by adjusting the blade so it just protrudes below the sole, making straight plane strokes the length of the timber. At first you probably won’t get shavings, just dust from the blade ripples but eventually these will disappear and you will start to make shavings (assuming your plane is tuned properly). Once you’re at this stage, get a straight edge and rest it along the length of the wood. Hold it up to the light, and where the gaps of light don’t appear is where your plane needs to be focusing on. Do the same diagonally (both ways) and along the width of the wood. Sorry for the blurry pictures, the flash was being a bit temperamental:
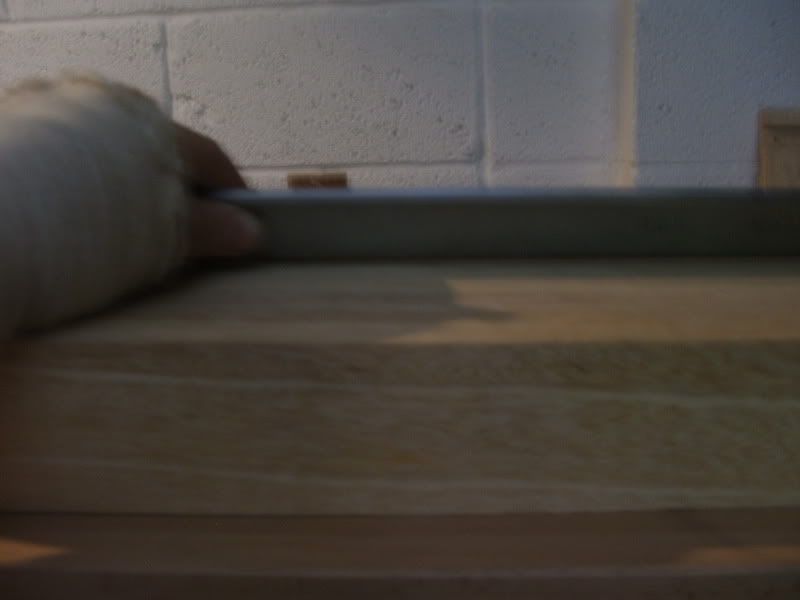
lengthways
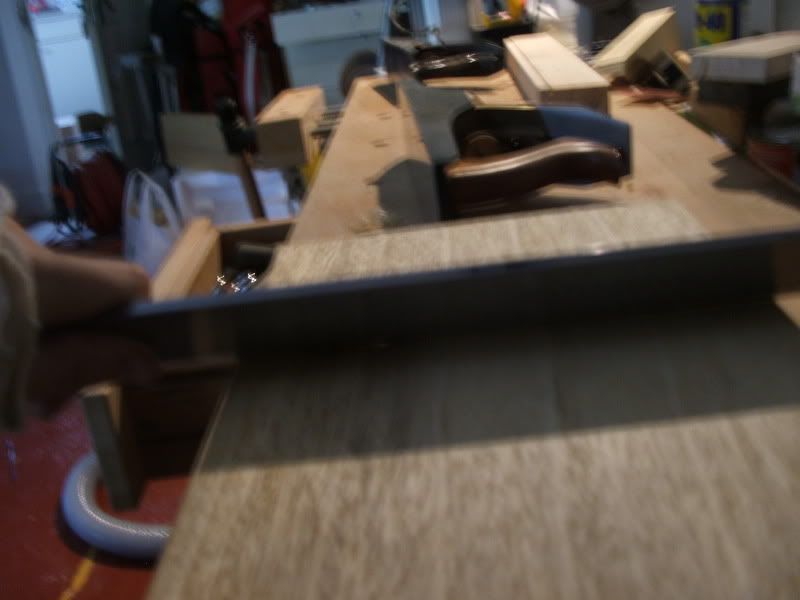
widthways - the gaps of light under the straight edge are visible here
Bear in mind that while the plane does tend to flatten the wood automatically in a way, you still need to control it and tell it where to take wood off – blind planing doesn’t work, focus on the higher areas of the wood. Put pressure on the front knob of the plane (tote) at the start of the stroke, and gradually shift the pressure to the rear handle so when you finish the stroke you’re hardly putting any pressure on the tote whatsoever. Think of it as you’re trying to create a concave surface in the wood, and because the plane has a flat sole this isn’t possible so the plane creates a flat surface. If you didn’t lift the pressure off the front at the end of the stroke, you’d have a natural tendency to cut heavier near the end of the wood.
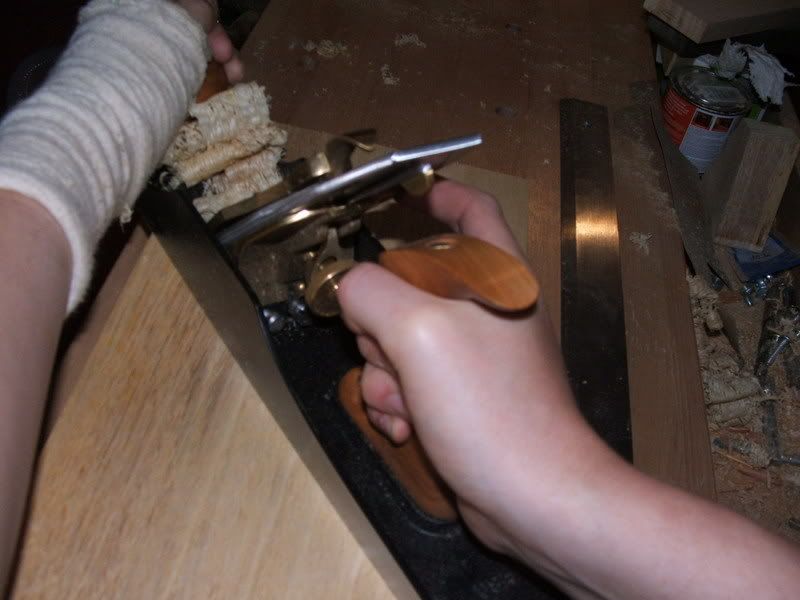
When you’re making straight passes along the wood, it often helps to skew the plane a bit as this effectively reduces the cutting angle and makes the plane easier to push. This is sometimes hard on figured woods though, as the higher the cutting angle the less tearout.
Slightly skewing the plane:
I’ve found it works best to set the plane to take average thickness shavings first, following the pattern of first taking diagonal passes in both directions, then taking straight passes:
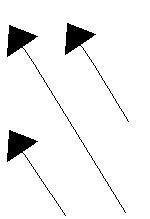
then 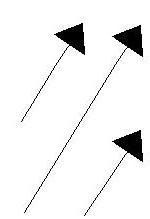 then
then 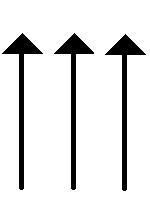
Do this a few times, until you feel that the gaps of light under the straight edge are small enough to move on to a lighter cut. Gently adjust the blade adjustment mechanism so the blade protrudes less, and keep on with the pattern. When I finally get to the finest shavings I’m going to take, chances are I’ll be using a blade that’s razor sharp and honed up to the equivalent of either 2500 grit sandpaper or a 12000 grit waterstone – especially on areas that will be glued. After the board gets fairly flat I’ll have also switched to a finer set plane, usually the Lie Nielsen 5 1/2 Jack shown in the pictures. The mouth is set much finer with this plane. The shavings should be so thin they barely hold themselves together.
Once you’re happy with the flatness of the first face of the board you’ve planed, you need to plane the other side. To do this you need to indicate where to plane to get the wood the same thickness all over, and this can be done with a ‘marking gauge’ or ‘cutting gauge’. This doohickey is basically a piece of wood with a stick inside that moves through it, and that can be locked in place. The moveable stick on one end has either a nail or a knife (that’s the difference between the two types), and is used to score a line around the timber. The one featured here is a rather nice one, rosewood with brass wear strips, but a simple all beech one works just as well. I find it really helps to plane the sides a bit before doing this as it will be harder to see the line in rough sawn timber. Decide how thick you want the body blank to end up, and use a small ruler to position the nail or knife as such:
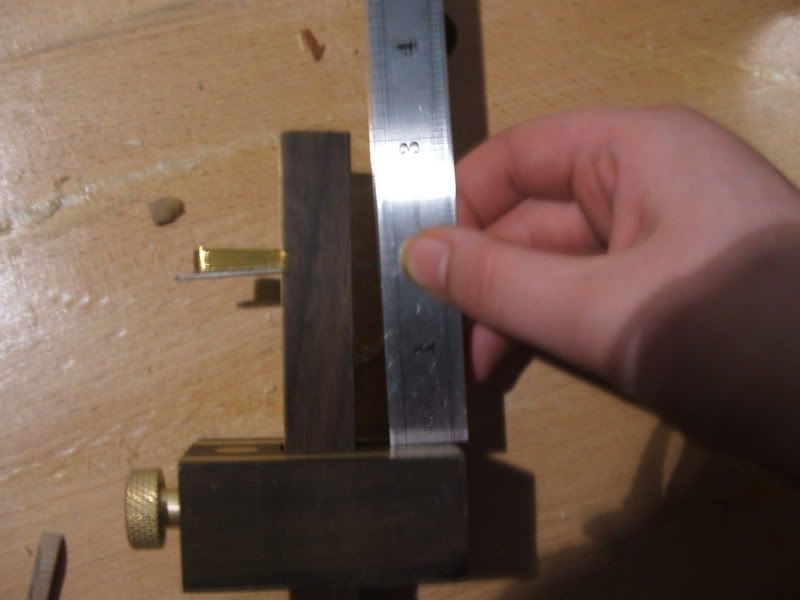
Obviously the knife has a thickness, so if your measurement is 45mm, make this the distance up to the bottom of the knife instead of the top, so once the line scored in the wood has disappeared, you’ll be left with a 45mm thick blank instead of 43.5mm (if the knife blade is 1.5mm thick). Rest the gauge tightly against the face you’ve already planed, and drag gently against the sides of the blank and repeat until you have a nice, easily visible and even line all around the wood.
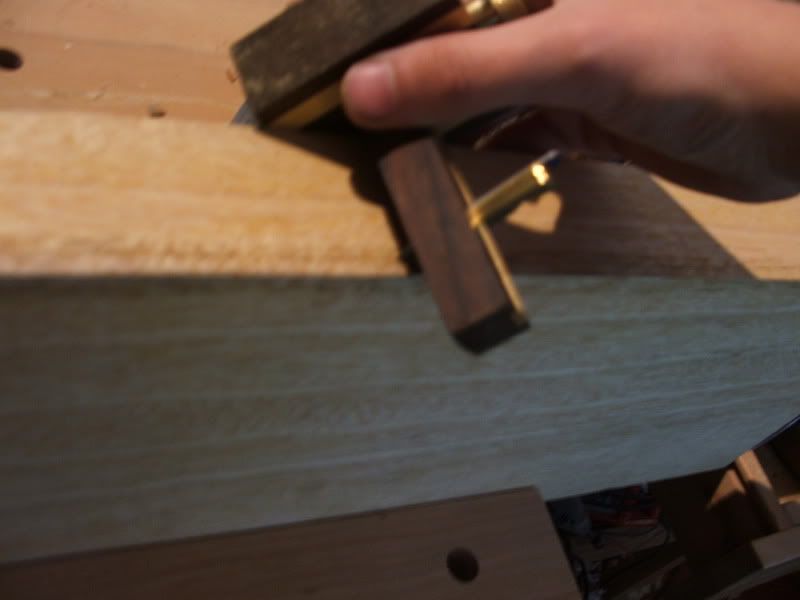
After that’s done, fill it in with a pencil or pen for visiblility.
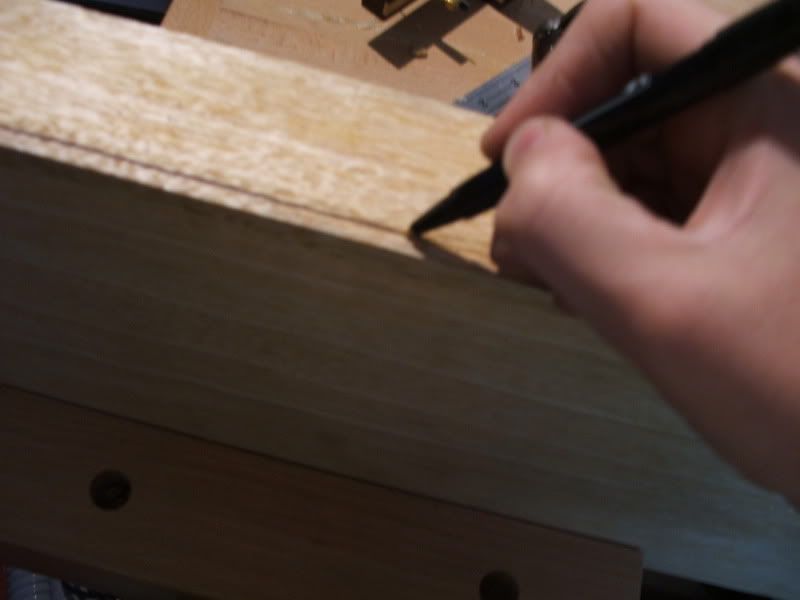
You’ve probably guessed what the next step is, simply plane the other face of the body blank now down to the line that you’ve marked, until it’s just about to disappear. Then make your final passes with the plane set for thin shavings and get it as flat as you can. You really have to keep your eyes on the line frequently when you’re planing the other face, and try to keep the thickness even around the blank as much as you can.
Copyright © Richard Baines 2008


